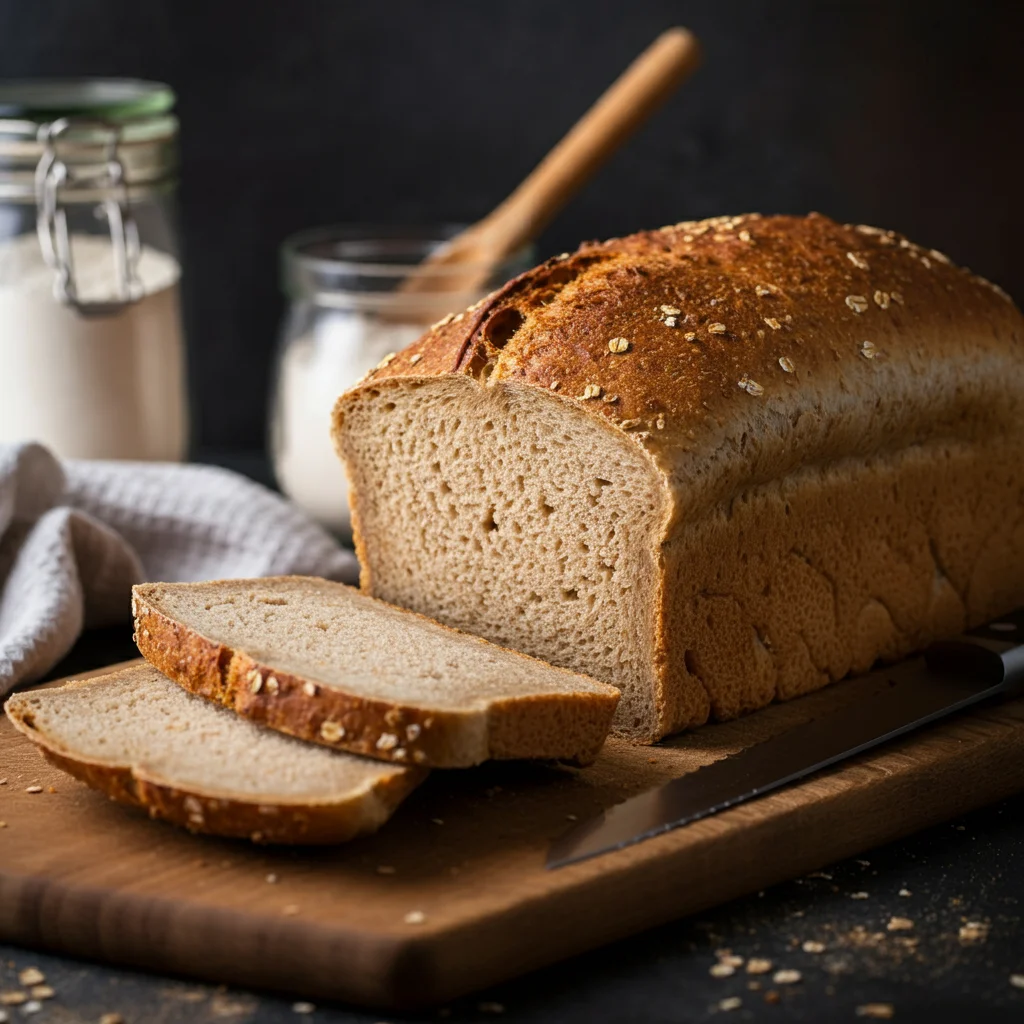
Tired of store-bought bread with hidden sugars and preservatives? This WW Homemade Bread brings you back to the comfort of real, wholesome ingredients—freshly baked, right from your oven.
Picture this: a golden loaf cooling on your countertop, filling your kitchen with the comforting aroma of fresh bread. And here’s the best part: this WW Homemade Bread is simple to make, low in points, preservative-free, and completely delicious.
My “Aha” Moment with WW Homemade Bread
I remember my own transformation from nervous bread-buyer to confident bread-baker, all thanks to this recipe. With only a few ingredients, this bread is surprisingly light but has the hearty richness of whole wheat, and it fits beautifully into a Weight Watchers lifestyle. No hidden sugars, no extra oils—just honest ingredients you’ll feel great about.
Table Of Content
| Look at the Recipe (Key Highlights) |
| Ingredients for WW Homemade Bread |
| How to Make This Healthy WW Homemade Bread |
| Storage & Serving Suggestions |
| Tips & FAQs |
Look at the Recipe (Key Highlights)
- Wholesome Ingredients: Made with whole wheat and bread flour for a light, hearty texture—no added sugars or preservatives.
- WW-Friendly: Low in points and ideal for Weight Watchers, offering a healthy homemade bread option.
- Easy for Beginners: Straightforward and forgiving, this recipe is perfect even if you’re new to bread baking.
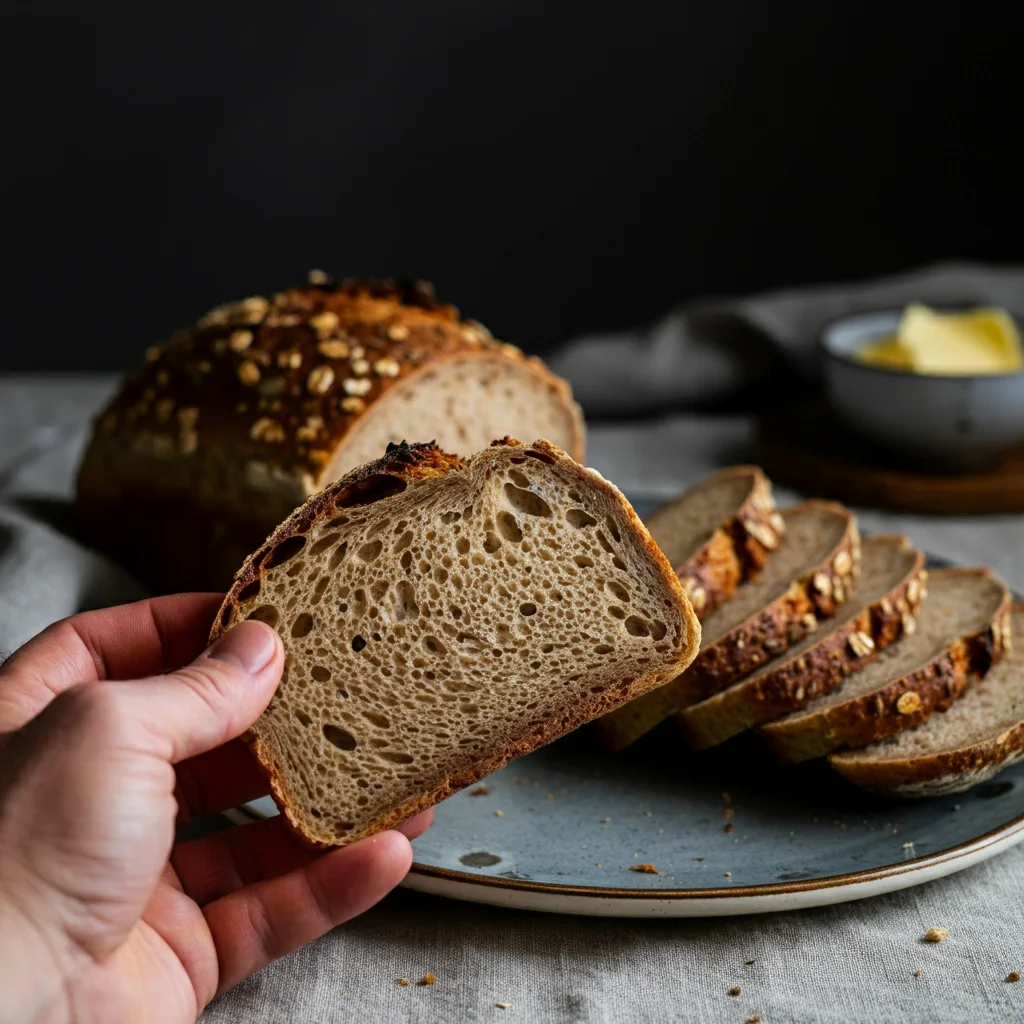
- Versatile Use: Enjoy as toast, in sandwiches, or simply on its own with a crisp, golden crust and soft interior.
Ingredients Needed
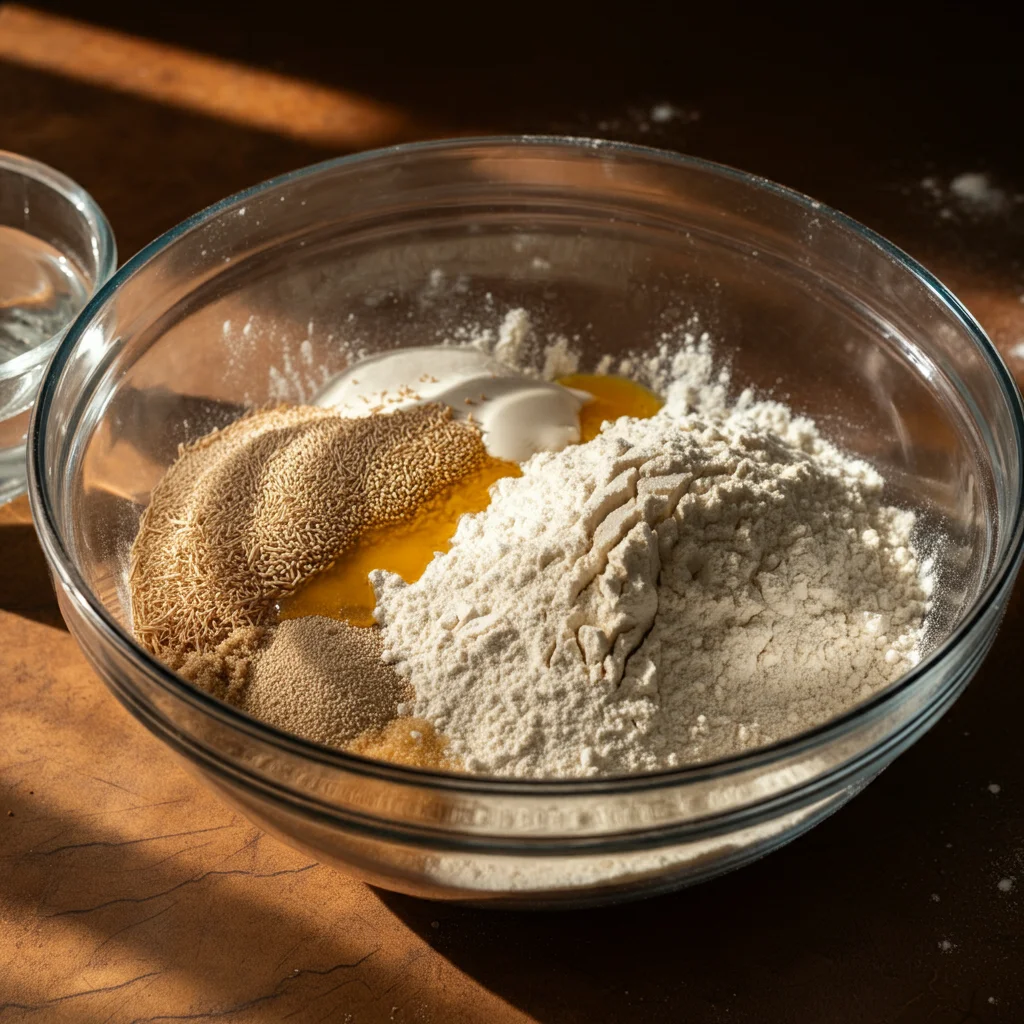
- Bread Flour – Provides structure for the bread’s tender texture.
- Whole Wheat Flour – Adds fiber and a nutty flavor.
- Sugar – Encourages yeast activity and provides slight sweetness.
- Salt – Balances the flavor and strengthens the dough.
- Olive Oil – Adds moisture, keeping the bread soft.
- Nonfat Dry Milk Powder – Contributes to flavor and helps with crust color.
- Active Dry Yeast – Allows the bread to rise.
How to Make WW Homemade Whole Wheat Bread
Prepare and Combine Ingredients
Start by mixing all dry ingredients in a stand mixer, ensuring they are well blended. Add olive oil and warm water gradually to form a smooth, cohesive dough.
Knead and First Rise
Knead the dough until smooth and elastic, then let it rest and rise in a warm spot until doubled in size.
Shape and Second Rise
Punch down the dough, shape it, and place it in a greased bread pan. Let it rise again until it peaks about an inch above the pan.
Bake and Cool
Bake at 350°F until golden and the internal temperature reaches at least 170°F. Allow the bread to cool before slicing.
Storage and Serving Suggestions
Storage Tips
- Keep it Fresh: Store your WW Homemade Bread in an airtight container or tightly wrapped in plastic to keep it fresh at room temperature for up to 3 days.
- Freeze for Later: For longer storage, freeze the bread for up to 3 months. Slice it before freezing, so you can grab just what you need without thawing the whole loaf.
Serving Tips
- Perfect for Toast: This bread makes amazing toast! Top it with avocado, nut butter, or a sprinkle of cinnamon for a delicious start to your day.
- Great for Sandwiches: Use it for hearty sandwiches that hold together well—turkey and veggies, hummus and roasted peppers, or your favorite fillings.
- Side for Soups and Salads: This bread is a wonderful side for soups or fresh salads. Toast a slice, add a little butter, and enjoy it with your meal.
FAQs & Tips
1. Can I make this bread without a stand mixer?
Absolutely! You can mix and knead the dough by hand—just give it a good 8-10 minutes of kneading on a floured surface until it’s smooth and elastic. It’s a little arm workout, but totally worth it!
2. What if I don’t have bread flour?
No worries! You can use all-purpose flour instead. Bread flour adds a bit more chewiness and structure, but your bread will still turn out delicious with all-purpose.
3. How do I know if my dough has risen enough?
The “doubled-in-size” trick can feel tricky! An easy test: gently press two fingers into the dough—if the indentation stays, it’s ready. If it bounces back, let it rise a bit longer.
4. My bread browned too quickly—what can I do next time?
If you notice it browning too fast, just tent a piece of foil over the top in the last 10 minutes of baking. This will help it bake through without over-browning.
5. How should I store this bread to keep it fresh?
Once cooled, store it in an airtight container at room temp for up to 3 days. For longer storage, slice and freeze it—then just pop a slice in the toaster whenever you need it!
Health Benefits of WW Homemade Bread
This healthy WW homemade bread offers a satisfying balance of fiber, protein, and low-calorie goodness, making it perfect for those on the Weight Watchers program. Here’s why each ingredient was chosen with your wellness in mind:
- Whole Wheat Flour – Whole wheat is a high-fiber flour that keeps you fuller longer and helps stabilize blood sugar.
- Olive Oil – Unlike butter, olive oil is lower in saturated fat and rich in heart-healthy monounsaturated fats.
- Nonfat Dry Milk Powder – Adds a creamy flavor without fat, contributing to a richer taste without extra calories.
This bread provides a low-fat, low-calorie option with fewer points than many store-bought bread types, making it a smart choice for your daily meals.
Best WW Homemade Bread Recipe: Low-Point, High-Flavor!
Description
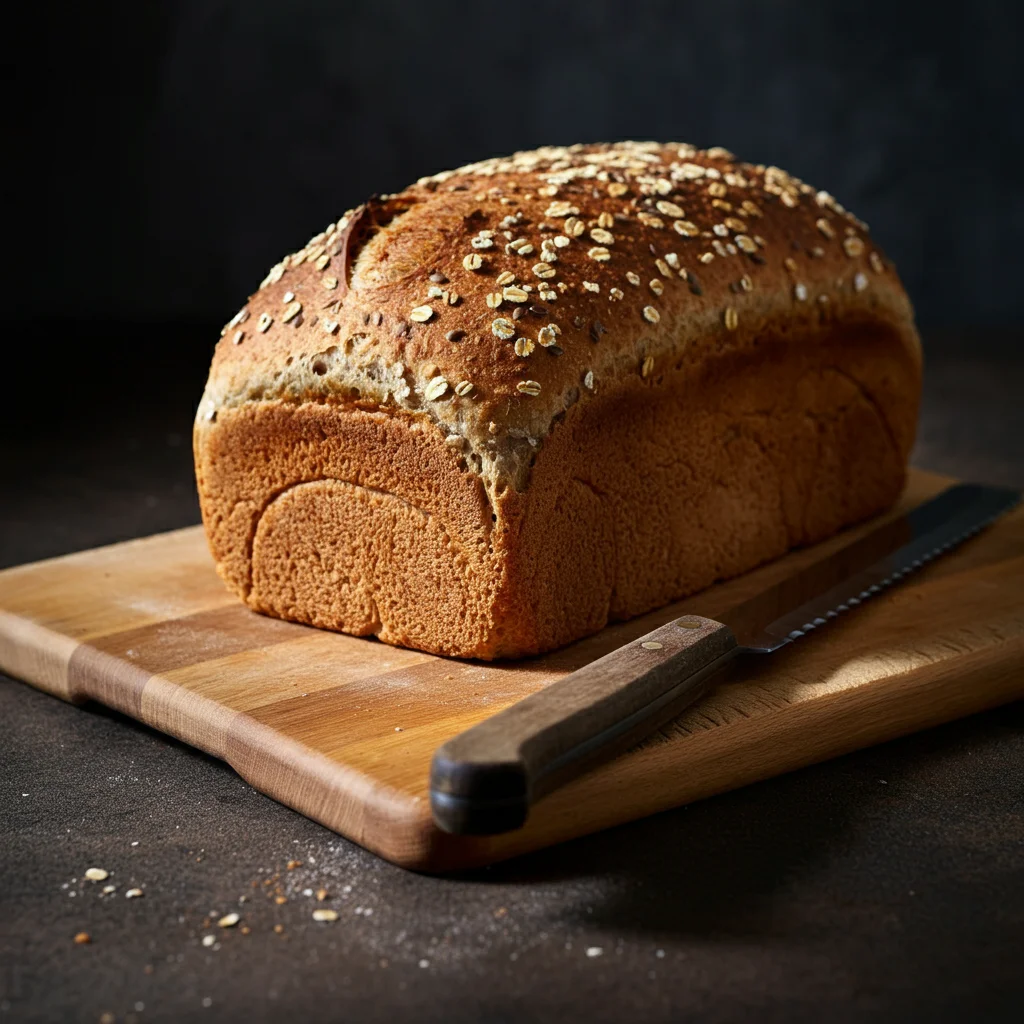
This WW Homemade Bread is soft, wholesome, and easy to make, perfect for those following a Weight Watchers plan. Made with whole wheat and bread flour, it’s low in points, free from preservatives, and has a deliciously chewy texture with a golden crust. Whether you’re new to baking or a seasoned pro, this recipe will quickly become your go-to for healthy, homemade bread!
Ingredients
Instructions
Mix Ingredients:
-
Place all dry ingredients (bread flour, whole wheat flour, sugar, salt, dry milk powder, and yeast) in a mixing bowl. Attach the flat beater, mix briefly, and switch to the dough hook.
Add Liquids:
-
Slowly add olive oil and warm water, mixing until the dough pulls away from the sides and forms a smooth, elastic ball.
First Rise:
-
Transfer dough to an oiled bowl, turning to coat the top. Cover and let rise until doubled in size, about 1 1/2 to 2 hours.
Shape and Second Rise:
-
Punch down the dough, knead briefly, then shape and place in a greased bread pan. Cover and let rise until it reaches about 1 inch above the pan’s rim.
Bake:
-
Preheat the oven to 350°F. Bake for 30-40 minutes, until the bread is golden and an instant-read thermometer reads 170°F.
Cool:
-
Remove from the oven and cool on a wire rack before slicing.
Nutrition Facts
Servings 12
- Amount Per Serving
- Calories 90kcal
- % Daily Value *
- Total Fat 1.5g3%
- Sodium 150mg7%
- Total Carbohydrate 16g6%
- Dietary Fiber 2g8%
- Protein 3g6%
- Points per serving 2
* Percent Daily Values are based on a 2,000 calorie diet. Your daily value may be higher or lower depending on your calorie needs.
Note
When I first made this WW Homemade Bread, I wasn’t sure how my family would react. But as soon as the aroma filled our kitchen, my kids were peeking over the counter, asking when it would be ready. My husband, who’s usually a fan of store-bought bread, couldn’t believe how light and soft it turned out. The kids loved it toasted with a smear of peanut butter, while my husband claimed it made “the best sandwich ever.” Now, it’s become a weekend tradition—their excitement each time we bake a fresh loaf makes it all the more rewarding!
